Starting Point - Brampton Station. Finishing Point - Greenhead Hostel. Distance 13.4 Miles.
Day 1 - Brampton to Greenhead (this page)
Hadrian's Wall was begun in AD122 under Roman emperor Hadrian as he sought to consolidate Rome's existing territories rather than continuing to battle the tribes of Caledonia to the north to conquer the whole of Britain. The wall ran 73 miles from Bowness-On-Solway on the Irish Sea to Wallsend on the Tyne Estuary. Today the remains of the wall are a UNESCO World Heritage site. The best remains of the wall are in the central section between Brampton and Corbridge. The area is served by the railway line between Carlisle and Newcastle, though a few stations that would have been useful for visiting the wall are no longer in use leaving some large gaps between stops on the route and making it impractical to cover the sites by day trips. I had a four day trip to visit the wall, staying in hostels at Greenhead, Newbrough and Newcastle. Three days were on foot between Brampton and Corbridge and the fourth day used the Tyne and Wear Metro to visit sites at Wallsend and South Shields. I also went back as a day trip on bike to visit the small remnants of the wall on the western approaches to Newcastle.
Below - Map of the wall seen on Corbridge station (click to enlarge)
Brampton Junction
I started my Hadrian's Wall walk with an old railway walk. Brampton station is situated some distance to the south of the town which was originally served by a branch line. The origins of the line actually pre-date the main line as part of the Earl of Carlisle's Railway connecting collieries and other industries to the east of Brampton. In 1836 the line was rebuilt for locomotive use eliminating a rope worked incline. A passenger service was operated on and off between Brampton Junction and Brampton Town until the branch was closed in 1923. More about the Brampton Railway can be found on the Cumbrian Railways website
Below - Brampton Junction, now just Brampton station, the platform face used by the passenger service to Brampton Town along the Earls of Carlisle's Railway can be seen.
Below - The former railway trackbed.
Brampton Town
Below - The only structure (aside from a tunnel under the Brampton Bypass built after the railway was removed) was the bridge over Station Road. The station site was on the right of the picture and is now a garage.
From the site of Brampton Town station I followed The Swartle to Lanercost Priory.
Below - The old Lanercost Bridge.
Lanercost Priory is run by English Heritage. The buildings incorporate stonework recycled from Hadrian's Wall. I didn't stop off there but got a view of the priory from the churchyard. Details about Lanercost Priory can be found on the site's website.
Below - Lanercost Priory.
From Lanercost Priory I continued along The Swartle to Banks, turning left on Barras Top and left on to the Hadrian's Wall Path to Hare Hill. This is the most western visible piece of surviving wall, likely the result of it having being incorporated in to a farm building after the wall was abandoned. It is also the tallest surviving piece of Hadrian's Wall. More information is available on the English Heritage website.
Below - Hare Hill section of Hadrian's Wall.
Below - Information board at Hare Hill (click to enlarge).
West of Hare Hill there is nothing to see of the wall but the earthworks either side of it can be seen and Hadrian's Wall path goes all the way to Bowness on Solway. I headed east from here on the Hadrian's Wall Path to visit the remains of the wall.
The next visable sight is 0.7 miles to the east at Banks East Turret. More information at the English Heritage website
Below - Banks East Turret.
Below - Information board at the site (click to enlarge).
Just east of Banks East Turret is the Pike Hill Signal Tower. This predates the wall and was effectively a beacon on the Stanegate Roman road along which the wall was built. The tower was incorporated in to the wall and it can be seen that unlike the turrets built with the wall the Pike Hill Signal Tower is diagonal to the wall.
Below - Pike Hill Signal Tower.
Below - Next is Lea Hill Turret 51b Information from English Heritage
Below - This is followed by Piper Sike Turret 51a.
Below - A stretch of wall that has disappeared leaving just the ditches either side of the wall that were dug to slow down attackers approaching from either side of the wall.
Below - A stretch of wall approaching Birdoswald Fort where the trees can be seen on the left.
Below - Birdoswald West Turret 49b.
Below - The former north gate to the Birdoswald Fort.
Birdoswald Roman Fort is another English Heritage managed site and is open daily 10am to 5pm. The site includes a museum about the wall and the fort as well as facilities such as shop, cafe and toilets. Details on the site's website.
Below - Looking in to the fort site from the West gate.
Below - Former drill hall.
Below - Granaries that would have supplied troops along the wall.
Below - The granaries had a raised floor allowing air to circulate to keep the grain dry.
Below - The West gate.
Below - A turret in the walls around the fort. The wall can be seen in the background.
Below - The East Gate.
Below - A view from the south of the fort showing the typical curved walls at the corners.
Below - Continuing east of the Birdoswald fort the longest stretch of surviving wall.
Below - Harrow's Scar Milecastle 49. Milecastles were situated every Roman mile and were very small forts at gates in the wall, usually including just a building or two within their walls for the troops.
East of Harrow's Scar the wall crossed the River Irthing. The wall path descends from the Milecastle to cross the river on a modern footbridge.
Below - The River Irthing. Because of the bend in the river the bank on the left has been eroded and the river has moved west since Roman times. This has obliterated the western end of the bridge and traces of wall around the river.
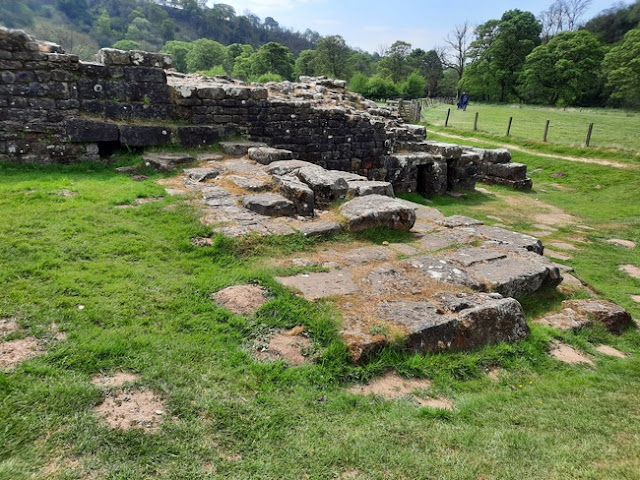
Below - Remains of the eastern end of eastern end of the bridge survive, now in a field just east of the river. English Heritage website.
Below - The wall leading up to the river (in the trees).
Below - Willowford West Turret 48b
Below - The section of wall between the Willowford Turrets.
Below - Willowford East Turret 48a.
Through Gilsland the wall disappears as the stone has been re-used. The path deviates away from the course of the wall to cross the railway as it crosses the course of the wall.
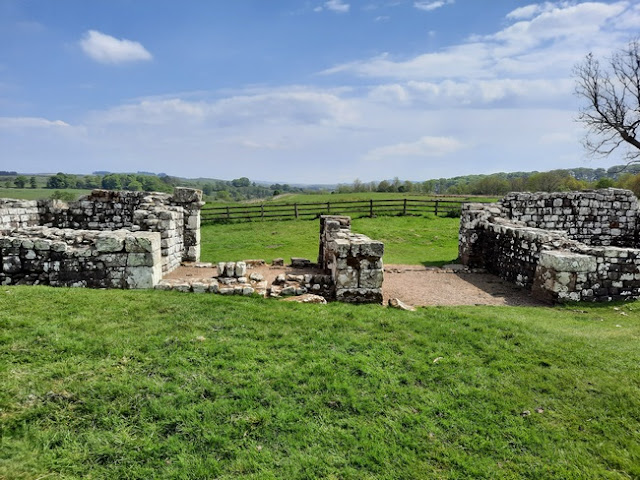
Below - Milecastle 48 Poltross Burn, the railway line can be seen in the background.
Gilsland
Below - The former railway station at Gilsland. There were banners in the village about the proposal to reopen it. It would greatly improve the opportunities for visiting the wall by train.
Below - While the wall is missing through Gilsland the ditches are still very evident.
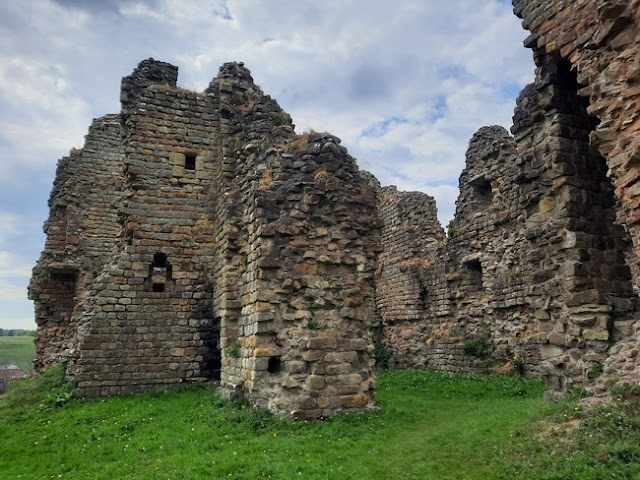
Below - North of Greenhead is Thirlwall Castle, this used stone recovered from the wall. It is free to walk around.
Also to the north of Greenhead and just south of the Hadrian's Wall Path is the Roman Army museum. This includes the Magna Roman Fort as well as displays about the wall and artefacts recovered in the excavations. More information can be found on their website.
Below - Excavations at the Magna fort site.
After visiting the Roman Army Museum I headed in to the village along the road. I had accommodation booked at the Greenhead Hostel, a former YHA hostel in a converted Methodist Chapel now run by the nearby Greenhead Hotel.
Greenhead
Below - Another disused railway station on the Tyne Valley railway line. Greenhead was once a mining community Greenhead is now a stop of point for people visiting the wall.
Below - The station master's house and the goods shed on the right.
Below - The coal depot is still a coal depot, though not rail connected these days. The hand crane is a remarkable survivor of the old railway goods yards.


No comments:
Post a Comment